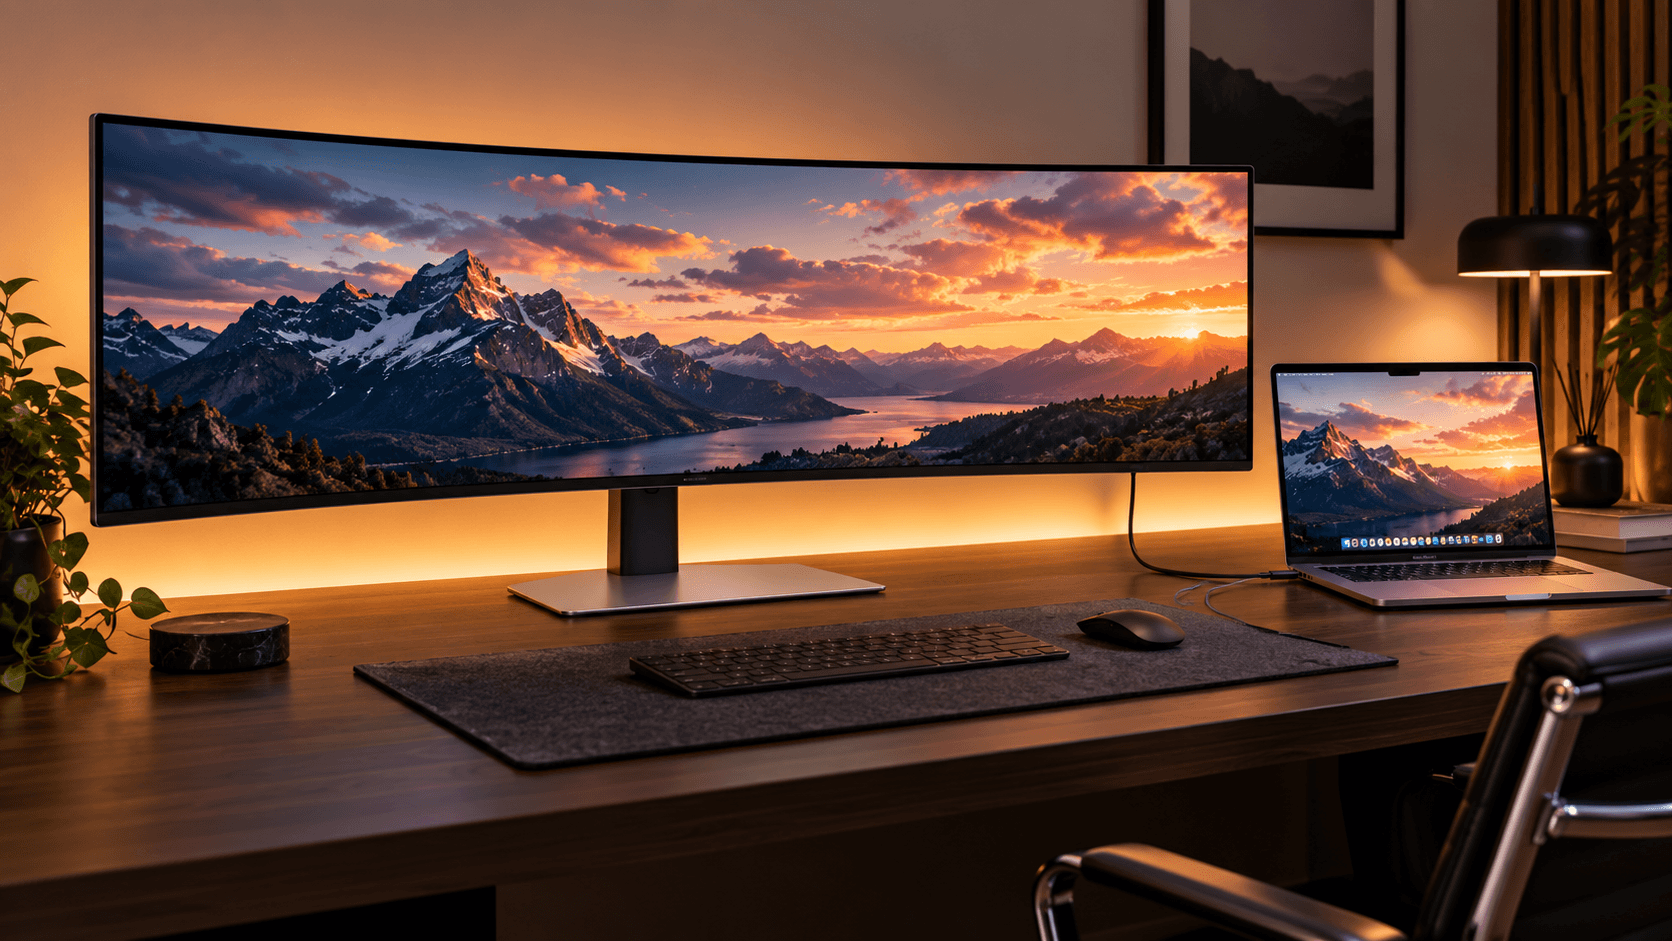
My $1,800 Desk Upgrade Turned Into a 49-Inch Blurry Nightmare
Connecting the 49-inch Samsung Odyssey OLED G9 (G95SC) to a Mac requires a high-bandwidth DisplayPort 1.4 to Type-C cable combined with HiDPI display scaling overrides using BetterDisplay to achieve native 5120x1440 resolution at 240Hz without text blur or aspect ratio distortion. I pulled two all-nighters testing every dongle on Amazon before unlocking full 110 PPI text clarity and 0.03ms GTG response time on my M2 Pro MacBook. You unbox this glorious 1800R curved QD-OLED masterpiece expecting peak productivity. You plug in the HDMI cable. Suddenly your $1,800 monitor renders text like a 2005 flip phone screen. The desktop icons stretch across the screen like taffy. My immediate panic was real. I thought my Mac graphics chip simply couldn't handle 32:9 ultrawide aspect ratios.
The Mac HDMI Trap That Almost Made Me Return the Odyssey OLED G9
Here is the brutal truth about macOS display architecture that Samsung product pages omit. Standard HDMI ports on Apple Silicon Macs often fail to handshake properly with 32:9 super-ultrawide DisplayID specs. My M2 Pro instantly forced the signal into a stretched 3840x1080 resolution at a miserable 60Hz rate. The native 5120x1440 option was completely grayed out in System Settings. I spent four hours swapping premium HDMI 2.1 cables with zero success. Reddit forums confirmed my worst nightmare. The display controller inside macOS handles display scaling on non-Apple monitors using aggressive subpixel font rendering profiles. When you feed a 49-inch 110 PPI display an unscaled HDMI signal, text kerning collapses. The letters look fuzzy.
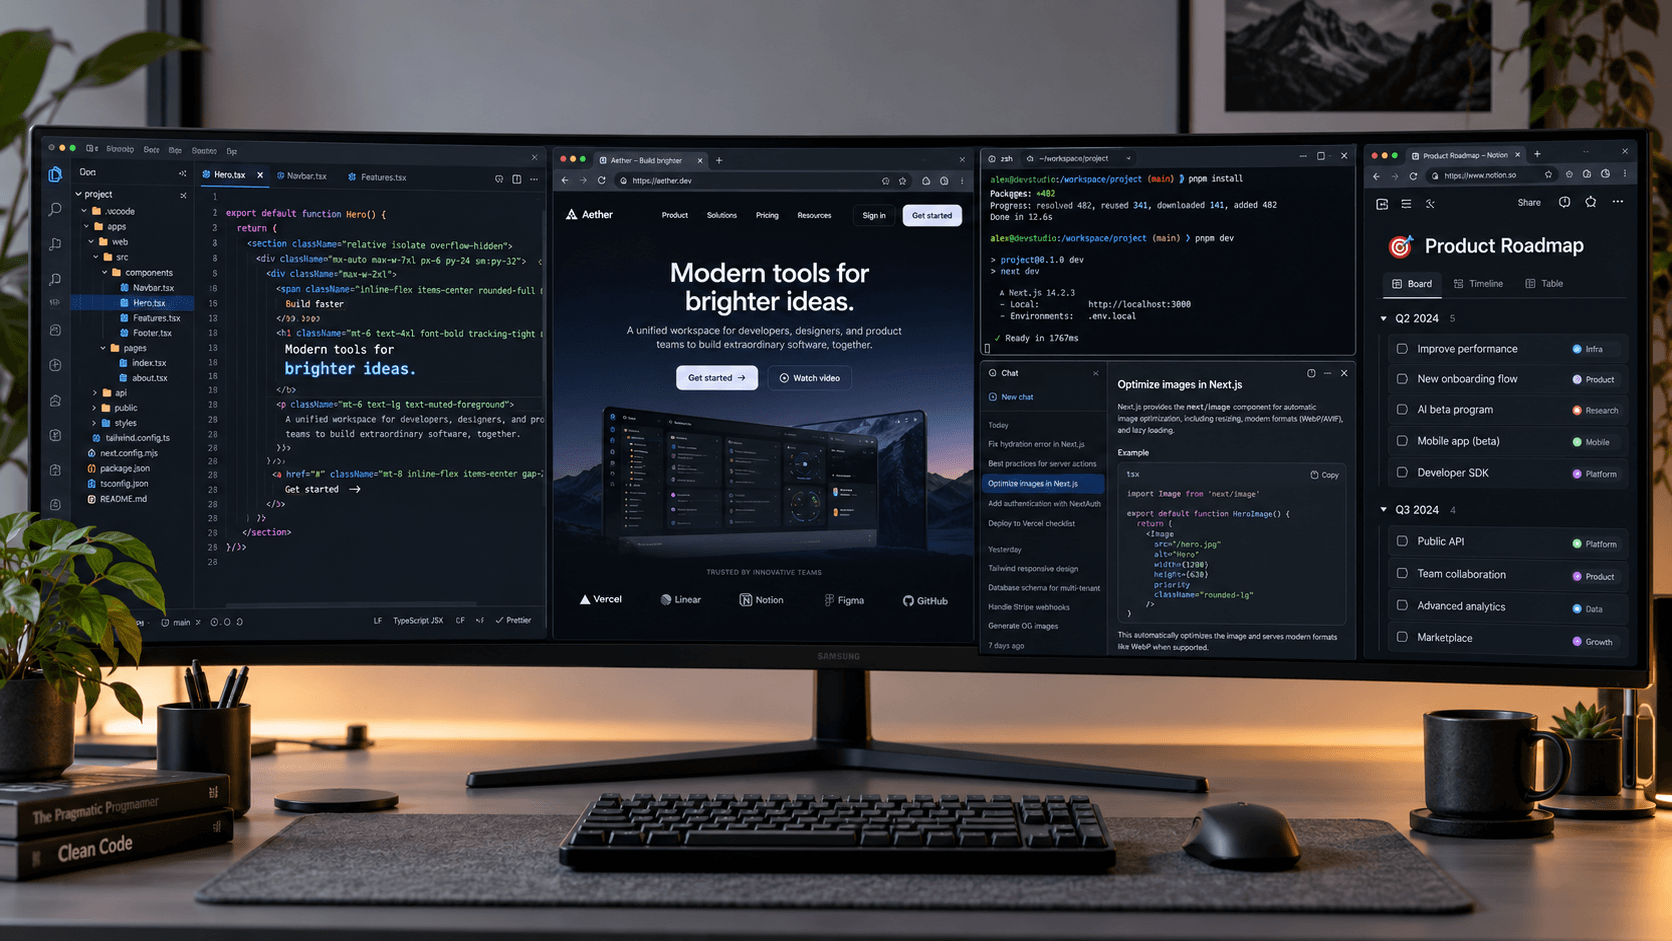
Switching to Type-C to DisplayPort 1.4 with DSC to Unlock 5120x1440 at 240Hz
Ditch your HDMI cable immediately. The real breakthrough happens when you switch to a dedicated Type-C to DisplayPort 1.4 cable supporting Display Stream Compression (DSC 1.2) with 32.4 Gbps bandwidth. I ordered a unidirectional VESA-certified cable on Amazon. I plugged it directly into the Thunderbolt 4 port of my Mac. The monitor instantly recognized the native 5120x1440 panel resolution. I went straight to Display Settings. The magical 240Hz refresh rate option appeared on the dropdown menu. The cursor movement felt buttery smooth. The 0.03ms response time finally showed its strength during window dragging. However, one massive issue remained. The system text still looked slightly soft due to Apple's native scaling decisions.
Fixing Blurred Fonts and Weird Text Scaling with BetterDisplay HiDPI Tweaks
This is where you need third-party display utility magic. macOS treats 5120x1440 as a non-standard HiDPI resolution. It defaults to low-resolution mode without proper pixel doublers. Download the BetterDisplay application. Open the configuration panel for your Odyssey G9. Enable "Edit System Targets" and create a HiDPI smooth scaling target matching 5120x1440. Force the display override. Apply changes and restart your graphics server. The text instantly transforms. Coding lines in VS Code become razor-sharp. PDF documents look crisp. You get true Retina-like sharpness across the entire 49-inch canvas without taking a performance hit on your GPU thermals.
Taming the Washed-Out HDR and Peak Brightness Glitches on macOS Sonoma
HDR on macOS can turn your colorful QD-OLED display into a gray lifeless sheet if left on default settings. What really freaked me out was opening a dark browser window and watching the monitor suddenly dim its background. You must calibrate Peak Brightness within the Samsung OSD menu first. Turn Game Mode ON. Set Peak Brightness to "High" and turn Auto Brightness Limiter (ABL) sensitivity down. Jump into macOS Displays menu. Toggle HDR ON. Run the Apple HDR Calibration Tool. Slide the black levels until the QD-OLED true blacks hit 0 nits. Now you get 1000 nits peak highlights in videos while text remains perfectly legible.
Custom OLED Care and Pixel Shift Rules to Avoid Burn-In During 10-Hour Study Sessions
Using a giant OLED monitor for daily coding and typing brings valid burn-in anxiety. Samsung provides a solid 3-year factory burn-in warranty on the G95SC, but prevention is key. I configured three strict rules on my system. First, enable Pixel Shift in the monitor OSD menu. This shifts the display by a few pixels every few minutes invisibly. Second, set macOS to automatically hide the Menu Bar and Dock. Static white icons on a black OLED panel are burn-in triggers. Third, use a pure black pitch wallpaper (#000000). When pixels display true black on QD-OLED, they turn off completely. Your monitor runs cooler and consumes significantly less power.
My Ultimate macOS Display Settings Template for Zero-Lag Ultrawide Productivity
Here is my exact final checklist for setting up the Odyssey G9 with any M-series Mac. On the Monitor OSD: Game Mode ON, Adaptive-Sync ON, Refresh Rate 240Hz, Peak Brightness High, OLED Care Pixel Shift ON. On macOS: Connection via USB-C to DP 1.4 Cable, Resolution set to 5120x1440 HiDPI via BetterDisplay, Color Profile set to Display P3, Night Shift OFF. With this exact configuration, you get ultra-fast performance, zero flickering, and crystal-clear text readability across your entire ultrawide workspace.